Logging Node.js applications with Winston and Log4js – IBM Developer
Many events occur when a server-side application runs, and most are written to a log file. The log file might be a collection of files on disk or a series of records in a database. Regardless, the practice of writing diagnostic information to logs is known as logging.
Logged events include:
- The state of records as the database reads them.
- Anytime the application cannot connect to the database.
- Information to assist in application debugging.
Logs tell us what happened, and the log is typically the first place a programmer looks to diagnose a problem. While the most critical system events are broadcast to a management tool, all events are logged.
In this unit, learn about logging and get to know two of the most popular loggers in the Node ecosystem: Winston and Log4js.
The challenge of logging
Writing diagnostic information to the console or a log file isn’t difficult. What matters is doing it consistently across the lifetime of the application.
Unfortunately, developers have different assumptions about what logging is used for, and some simply do not realize its importance. If you’ve supported an application that is more than a few years old, you’ve probably seen the results: some parts of the code are thoroughly logged, while others are not logged at all.
Whatever the cause, inconsistent logging becomes a real issue when you need to debug your application. Experienced server-side developers generally understand the value of logging, whereas front-end developers often do not.
Choosing a good logging package
Using a logging tool will improve the quality and consistency of your logging, and fortunately the Node ecosystem offers many good packages to choose from. The trick is knowing what to look for.
In my experience, a logging package must be configurable, so that you can customize it. After that, I look for these must-have capabilities:
- It should support multiple log channels, so that you can send logs to various destinations (console, files, database, etc.).
- It should support flexible configuration, enabling both programmatic and external configuration styles.
- It should support multiple log priorities, because some types of message are more important than others.
- It should enable different log formats, which the programmer can configure and customize.
- It should recognize multiple log categories, because different functional areas need to be logged differently.
Both of the packages introduced in this unit have all of these capabilities and more.
Winston
Winston is one of the most popular logging packages available, with almost two million downloads per week. Based on the three-part score I introduced in Unit 7 ( quality, popularity, and maintenance) Winston’s score is 81 (98/82/67, respectively).
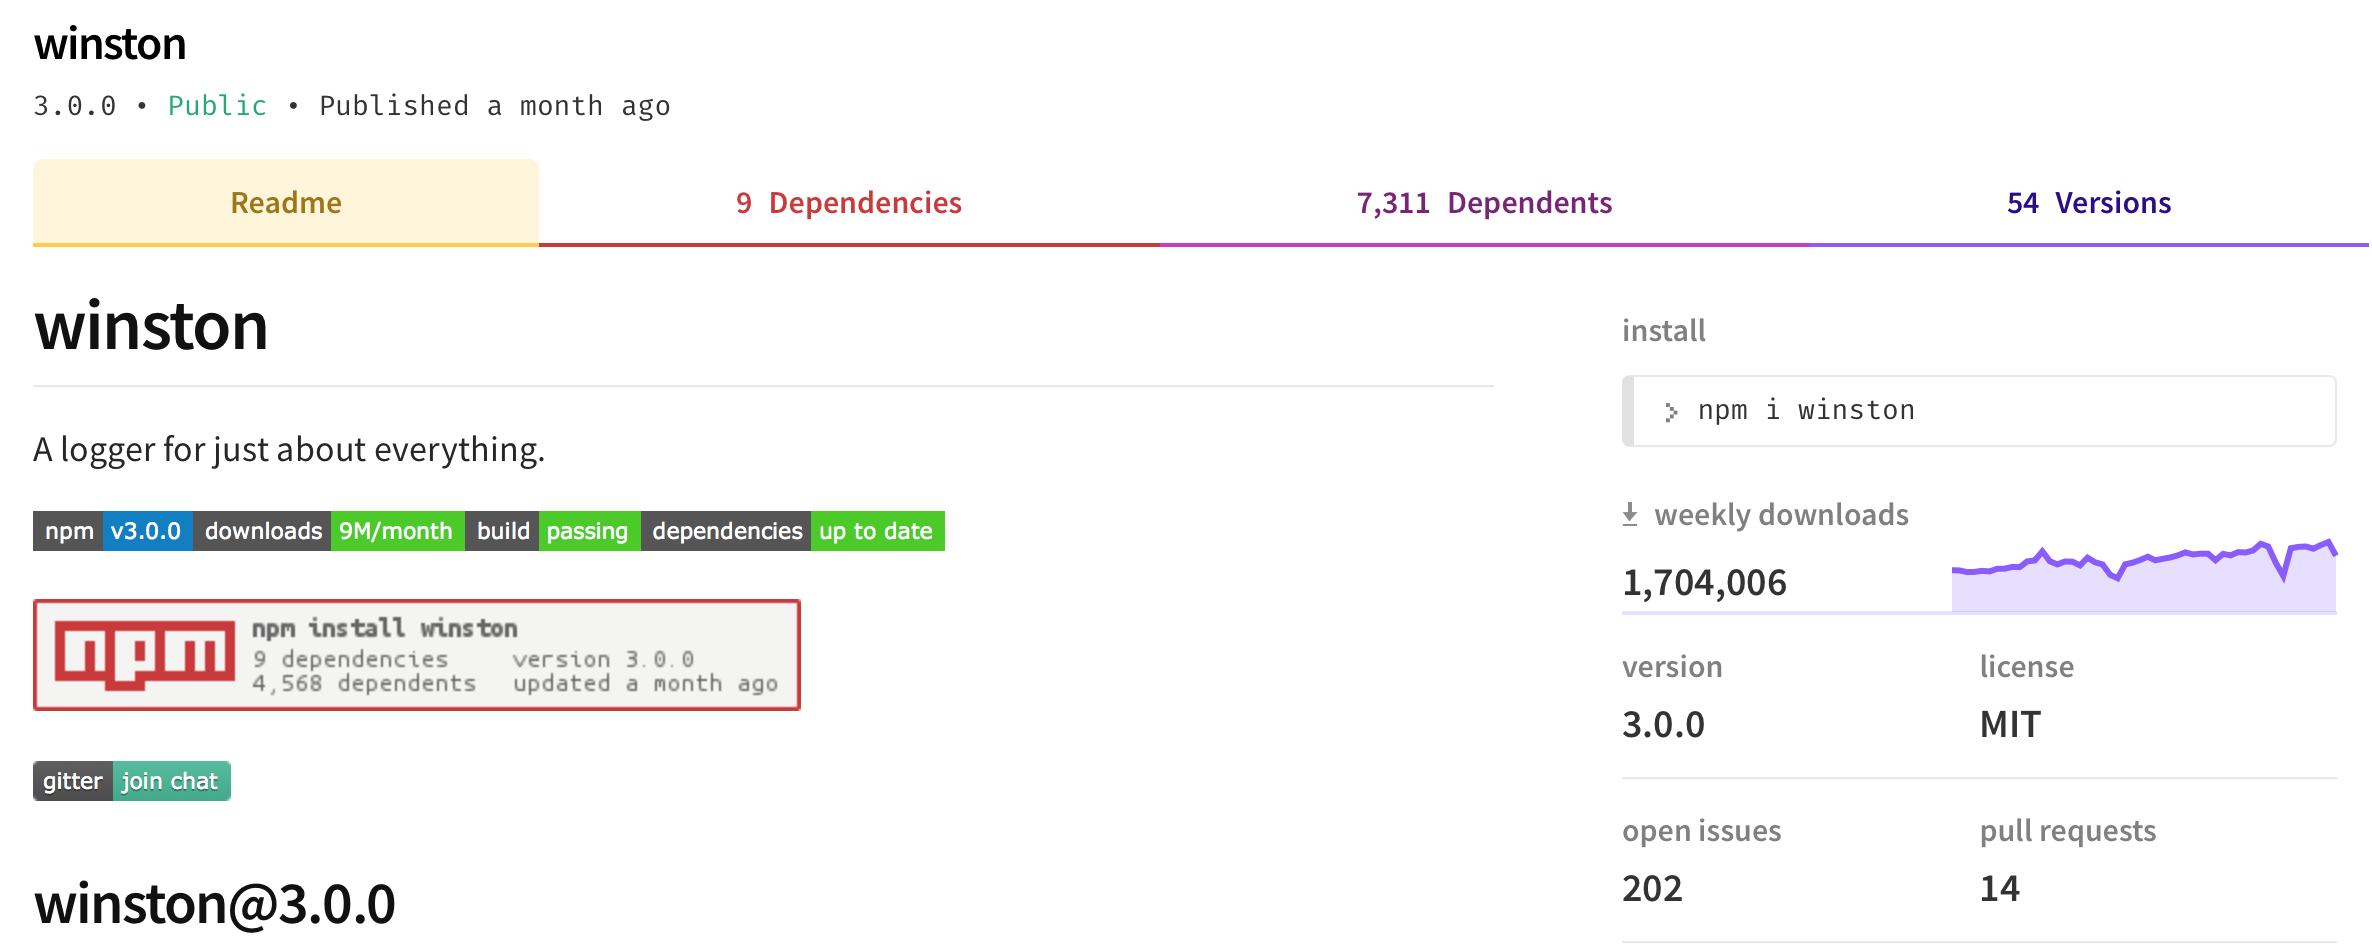
Winston is easy to use and incredibly popular, and you are very likely to run across it as a professional Node developer.
Log4js
Log4js is another popular logging package, with over a million downloads per week and a three-part score of 76 (98/68/67, respectively).
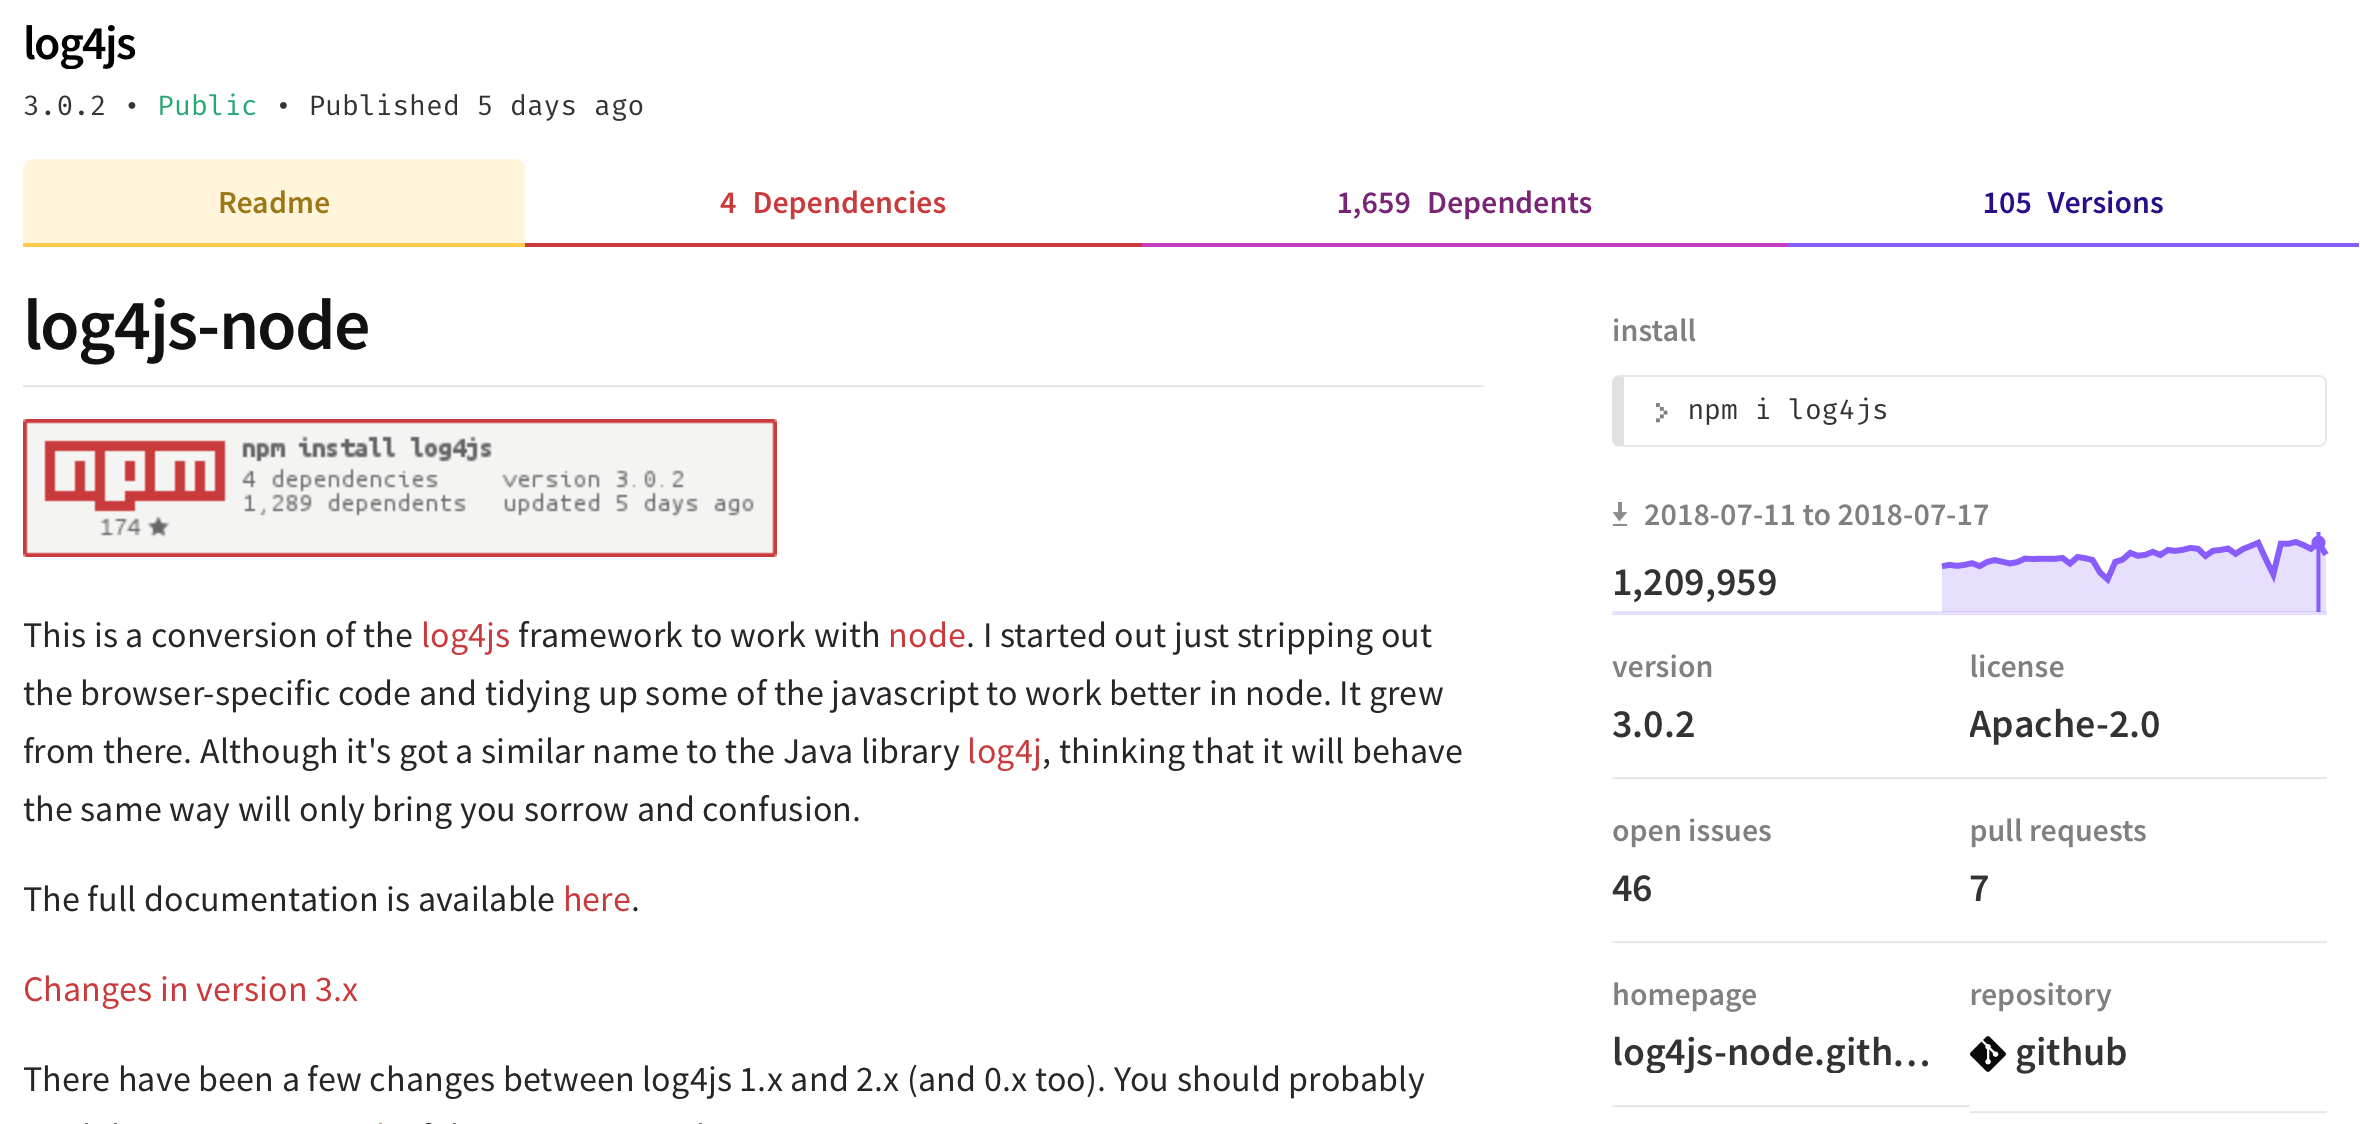
While it’s not as popular or highly rated as Winston, Log4js has all the qualities I look for in a logger. It also has a very similar feel to log4j, making it a popular choice for Java developers who have transitioned to Node.js.
Logging examples
Before going further, let’s set up the examples we’ll use to try out our two loggers. There are two ways to access the source code and run the examples for this unit:
- Navigate to the
Unit-10directory in theCourserepository and run the examples. - Start with an empty directory and an empty
package.json. Then create and run the examples as you go along.
Accessing source from the terminal
If you choose the first option, open a terminal window or command prompt and navigate to the Unit-10 directory in the Course repository. The full path on my Mac is ~/src/projects/IBM-Developer/Node.js/Course/Unit-10. Make sure to run npm install in that directory at least once (although if you follow along with the installation instructions in each section that will happen anyway).
Creating source as you go
If you prefer the second option, you will need to create a package.json that looks like this:
Listing 1. package.json for running examples in this unit
Now run npm install to install the devDependencies.
Important note: Be sure to save the examples in JavaScript files that match the example number in the same directory as package.json. Save example-1 in a file called example-1.js, example-2 in a file called example-2.js, and so forth.
Spot the linter
Looking closely at Listing 1, you probably noticed that the npm scripts are set up to lint the code before every example runs.
I lint my code before running anything, so that I can catch potential errors as early and often as possible. I suggest making this practice a habit.
Logging with Winston
Install Winston
To install Winston, run the npm i winston command. The output should look something like this (the version you install may be different from mine):
In the next sections, I cover how Winston implements each of the core capabilities I recommend in a third-party logging package.
Multiple log channels (transports) in Winston
In Winston’s terminology, a log channel is called a transport. Examples of built-in transports include:
Additionally, a number of transport contribs are maintained outside of the Winston project.
I’ll show you how Winston handles two of the most commonly used transports: console and file.
Console transport
As the name implies, the console transport is used to send logger output to the console (aka stdout). You create the console transport as part of your logger configuration, then call the createLogger() function. You will then call one of the Winston API methods to log messages.
Listing 2 shows two ways of logging a message.
Listing 2. Winston console transport
To see this example in action, save the code to example-1.js, and then run npm run example-1. When you run example-1, the console output will look like something this:
Two ways to log in the console
Notice the last two lines of the above output. These identical lines show the results of the two different ways of logging a message from example-1.
The first way to log a message using the Winston API is the log() function, where you pass an object containing two properties:
message: The message text you want to loglevel: The message level, which is one of:sillydebugverboseinfowarnerror
Don’t worry about levels for now; you work with them later in this unit.
The second way to log a message is to call the API function with the same name as the message level (info(), warn(), and so on), then pass only the message you want logged.
Listing 2 shows both ways to pass a message. Going forward, I’ll use the second way because it’s simpler.
File transport
File transport is used to send output to a file whose name you specify in the configuration. Just create the file transport as part of the logger configuration, then call a createLogger() function passing the configuration object. To log the message, call one of the Winston API methods, like so:
Listing 3. Winston file transport
To see this example in action, save the above code to example-2.js, then run npm run example-2. When you run example-2, the console output looks something like this:
There is no logging-related console output because the file transport sends the output to a file, in this case ./logs/example-2.log:
Multiple Winston transports
It is very common for an application to have the same log output going to multiple destinations (or transports), as Listing 4 shows.
Listing 4. Multiple Winston transports in the same configuration object
Notice that both console and file transports are added to the transports array in the configuration object.
To see this example in action, save the above code to example-3.js and run npm run example-3. When you run example-3 the console output looks something like this:
The console transport’s level was set to verbose, so not all of the log statements showed up in the console output. Additionally, the file transport’s level was set to error, so only one of the log statements showed up in the log file. The contents of ./logs/example-3.log look like this:
You’ll learn more more about levels shortly.
Flexible configuration in Winston
In the examples so far, the Winston configuration object was located in the same module as the logger that used it, but this isn’t mandatory. One of the capabilities to look for in a logger is its ability to be configured externally to the code that uses it. Winston has this capability.
Consider the following configuration as an example.
Listing 5. External configuration in ./config/app-settings.js
If you’re creating source code as you go, you need to create a directory that’s subordinate to the location of your package.json, called config. Then you’ll create another file called app-settings.js. Paste both of these into the contents of Listing 5.
To use this external configuration, use require() as you would any other Node module, and pass the sillyLogConfig to Winston’s createLogger() function, as shown below.
Listing 6. External configuration located in ./config/app-settings.js
To see this code in action, save the above code in example-4.js and run npm run example-4.
When you run example-4, the console output looks something like this:
The file output goes to ./logs/silly.log and looks just like the console output:
Note: At the time of this writing, the Winston configuration object must be a JavaScript object. You cannot currently configure Winston using pure JSON, for example. However, an issue has been posted, and Winston is actively maintained, so stay tuned!
Multiple log priorities in Winston
Another capability to look for in a production-quality logging package is the ability to support multiple log priorities, also known as levels. You’ve already seen this in example-3 and example-4. Now we’ll look more closely at Winston’s support for logging levels.
With respect to how log levels are defined, Winston follows the design of RFC5424, as Listing 7 shows.
Listing 7. Winston’s standard log levels
According to this standard, levels are defined in reverse-numerical order. That is, the more important the message, the lower the priority number. As an example, an error message is more important than a debug message, so the error message has a lower number.
In my opinion, this order is completely backward. While I respect Winston for at least following a standard, I suspect RFC5424’s definition of log levels is based on a pre-existing implementation (Linux kernel log priorities), rather than being guided by an intuitive sense of what the word priority means.
This information will be important when we create custom log levels, which we’ll do very shortly.
Overriding priority levels
In Listing 8, we create a Winston logger, then override its level so we can see all of its messages.
Listing 8. Viewing messages at all available levels
Note that in this case there is only a console transport.
To see this example in action, save the above code in example-5.js and run npm run example-5. When you run example-5, the console output looks something like this:
Custom log levels
As I noted, we can replace Winston’s standard log levels with our own, as shown below.
Listing 9. Defining custom log levels in Winston
To see this example in action, save the above code to example-6.js (removing the line numbers first), and run npm run example-6. The output will look like this:
Notes about the Winston code
Let’s go over the above code line by line.
First, you see the custom levels defined in lines 4-14.
Next, lines 17-23 create the Winston configuration object. Notice line 19 in particular, where the newly defined levels are set. This replaces the default levels shown in Listing 7.
Also notice that the doLogging() function (line 31) is called twice:
- Once on line 44, to log using the log level that was set when the configuration object was created.
- Again on line 49, after the log level has been set to
tea(line 47), where all the levels show up.
Finally, when you define your own log levels and use them to create a Winston configuration object, the default levels no longer apply. In fact, Winston will complain if you try to use them; see lines 51-55, and also notice the final log message:
Formatting in Winston
A production-quality logger should allow you to format the messages that get logged.
Examples so far have logged messages in JSON format, but Winston provides many other formats for log messages. We’ll look at two of them: printf and splat.
Before we get into these formats, it’s important to understand Winston’s formatting framework. The main thing to remember is that a Winston message centers around an info object that has at least two properties: level and message.
Every logger instance you create (via createLogger()) has a format property that you can set to the type of formatter you want to use. Winston comes with several built-in formatters that can be combined to handle pretty much whatever log message format you need.
Formatting with printf
Listing 10. Print-style formatting
The formatter in this example is created in lines 11-19, and is a combination of Winston’s built-in label() (lines 12-14), timestamp() (line 15), and printf() (lines 16-18) formatters.
Also note that line 17 controls the message that is logged:
If you match up the fields, you can see exactly how the message was computed:
info.timestampis from line 15.info.labelis from lines 12-14.info.levelis the log level from theinfoobject.info.messageis the message text you want to log (line 25).
To see this example in action, save the code to example-7.js. Strip out the line numbers first, then run npm run example-7. The console output looks like this:
Formatting with splat and simple
If you want to control the formatting right when a log function is invoked, you can combine the splat and simple formatters.
splat()formatslevel.messagebased on Node’sutil.format()function.simple()returnslevel.infoalong withlevel.message.
Listing 11. Formatting with splat and simple
To see this example in action, save the above code to example-8.js and run npm run example-8. The console output look like this:
Winston provides several more built-in formatters that you can learn about by reading the WinstonJS docs and the Winston logform docs.
Note: In this example, the message is logged at a level of warn, which is the value of level.info. The name collision between the info object and the info level is confusing until you give the info object docs a thorough read. If you’re going to use Winston, I suggest you invest the time to do that.
Log categories in Winston
The final feature we’ll look at for Winston is the ability to segment logger instances based on the functional areas of your application. Winston provides this capability through the notion of a container.
Consider the following examples, noting that I’ve removed the comments to save space.
First, there is a function to create a Winston configuration, as Listing 12 shows.
Listing 12. Create a Winston configuration
If you are manually creating the source, strip out the line numbers, then save this listing to ./config/winston-config.js. You should also be sure to add a JSDoc comment to the createLoggerConfig() function, otherwise the linter will complain about it. (If you want to avoid complaint, you could disable the linting rule in package.json, but I leave that option as an exercise for the reader.)
The module in Listing 12 defines a default category (line 3), then adds a logger to Winston’s internal Container store (line 22), and exports that as defaultLogger (line 24). The createLoggerConfig() function (lines 5-21) is also exported, so it can be called as follows:
Listing 13. Log categories
Notes about the code
A lot is going on in this simple example, so let’s walk through it.
First, the default logger (line 5-6), which was exported from ./config/winston-config.js is used to output a message.
Then, the configuration for a new logger category is defined (line 8), added to Winston’s container store (line 10), and then a logger object is retrieved (line 11). That logger is specific to this module (example-9), and is used to log a few messages.
Then two new category configurations are created, added (lines 20-21), and their logger instances are retrieved in the same manner (lines 23, 26).
To see this example in action save the above code to example-9.js (don’t forget to strip out the line numbers first) and run npm run example-9. The console output looks like this:
Notice that the category appears as the label, because that’s how it was configured (see Listing 12, line 13).
That’s it for Winston, at least for this unit. Next you’ll install and try out Log4js.
Không có nhận xét nào:
Đăng nhận xét